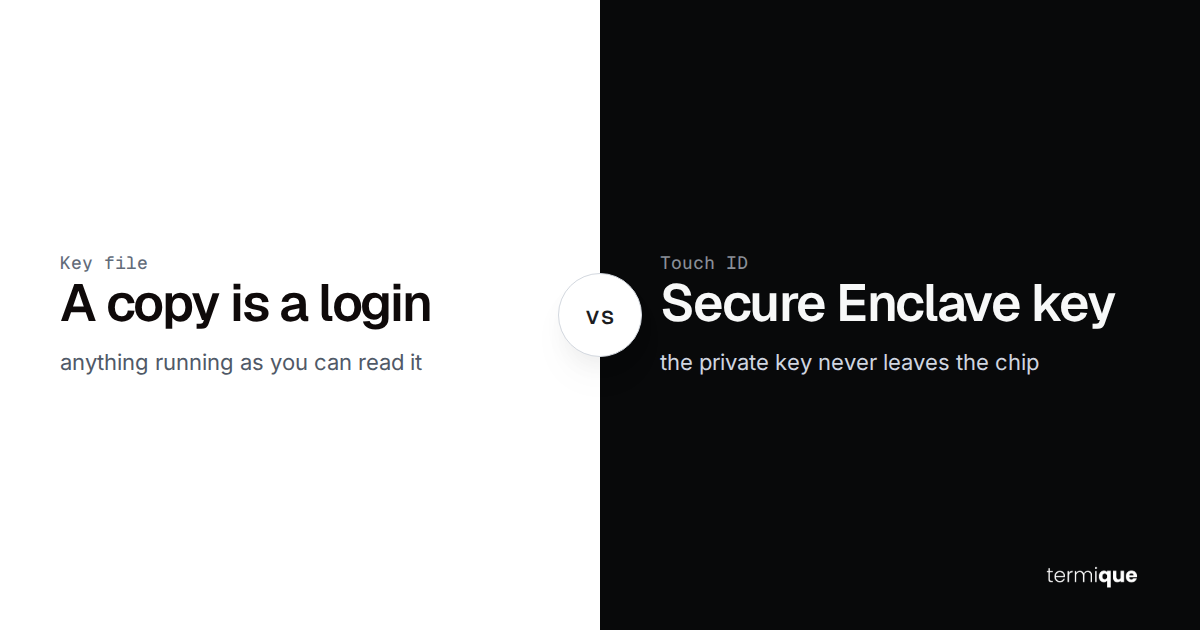
A normal SSH key is a file. Anything that runs as you can read ~/.ssh/id_ed25519, and if the key has no passphrase, a copy of that file is a copy of your access. A Touch ID SSH key works differently: the private key is generated inside your Mac’s Secure Enclave, it never leaves it, and every signature needs your fingerprint. Recent macOS versions can do this with two built-in tools, sc_auth and /usr/lib/ssh-keychain.dylib, without installing anything.
This guide covers the setup, how to make it survive a reboot, how to use it with GitHub and your own servers, and the part most write-ups skip: what you give up when a key can’t be copied.
Quick Summary: What You’ll Learn
- What a Secure Enclave SSH key is and which Macs have one.
- The three commands that create a Touch ID SSH key and load it into ssh-agent.
- How to make it work after a reboot with
~/.ssh/configorSSH_SK_PROVIDER. - How it compares with Secretive and a YubiKey.
- The tradeoffs: one key per Mac, no backup, and servers that need OpenSSH 8.2 or later.
How do you use Touch ID for an SSH key on macOS?
You create a non-exportable P-256 identity in the Secure Enclave with sc_auth, then tell OpenSSH to talk to it through Apple’s security key provider, /usr/lib/ssh-keychain.dylib. OpenSSH treats the Secure Enclave like a FIDO security key, so the public key shows up as [email protected], the same type a hardware key would give you.
The short version:
# 1. Create the identity (Touch ID prompt). Run once per Mac.
sc_auth create-ctk-identity -l ssh-key -k p-256-ne -t bio

# 2. Load it into ssh-agent. Press Enter at the PIN prompt.
ssh-add -K -S /usr/lib/ssh-keychain.dylib

# 3. Print the public key to paste into GitHub or authorized_keys.
ssh-add -L
After that, ssh and git over SSH trigger a Touch ID prompt whenever the key signs a login. The rest of this article explains each piece and the setup that doesn’t need step 2 after every reboot.
A note on testing: we build termique on Linux and couldn’t run the sc_auth steps on a Mac for this article. The macOS commands and outputs come from two public write-ups (linked in the sources) and Apple’s man pages they cite. The OpenSSH side (flags, key type, server support) is checked against the OpenSSH manuals and tested on OpenSSH 9.6.
What is a Secure Enclave SSH key?
The Secure Enclave is a separate security subsystem inside Apple’s chips. It has its own processor and protected memory, isolated from the main CPU, and it can generate and use keys that the operating system never sees in plain form. Apple lists it on all Macs with Apple silicon, Intel Macs with the T2 Security Chip, and the 2016 and 2017 MacBook Pro models with the T1 chip.
sc_auth is the macOS command for smart card and CryptoTokenKit identities. With the key type p-256-ne, it asks the Secure Enclave to generate a P-256 key pair where the private half is non-exportable (that’s what -ne means). Signing happens inside the enclave. Your Mac asks for Touch ID, the enclave signs the login challenge, and only the signature comes out.
That gives you three things a key file can’t:
- No file to steal. There’s no private key on disk to copy, back up by accident, or leak in a dotfiles repo.
- A prompt per use. With
-t bio, every signature needs a fingerprint, so malware that reaches your ssh-agent can’t silently log in somewhere. - Nothing to forget to encrypt. There’s no passphrase to skip, because there’s no key file to protect with one.
It does not protect you from everything. If you approve a Touch ID prompt for a login you didn’t start, that login goes through. And it doesn’t stop someone who can get your enrolled finger onto the sensor, same as any other Touch ID action.
How do you create the identity with sc_auth?
sc_auth create-ctk-identity -l ssh-key -k p-256-ne -t bio-l ssh-keyis a free-form label so you can recognise it later.-k p-256-neis the key type. The write-ups reportp-256,p-384,p-521,p-256-neandp-384-neas accepted values. Usep-256-ne: OpenSSH’s security key types areecdsa-sk(P-256) anded25519-sk, so P-384 won’t work for SSH, and the variants without-neare exportable.-t biorequires biometrics for each use.-t nonestill keeps the key inside the enclave but lets programs use it without a prompt. Picknoneonly if you’d rather trade the per-use check for fewer interruptions (frequentgit fetchcan get tiring).
Check that it exists, and see its SSH fingerprint:
sc_auth list-ctk-identities
sc_auth list-ctk-identities -t ssh
The second form prints the key hash as an SSH-style SHA256: fingerprint, which is what you’ll compare against the server side later. To remove an identity, use its hash from the list:
sc_auth delete-ctk-identity -h <public-key-hash>Run man sc_auth on your Mac before you start. If create-ctk-identity isn’t in it, your macOS version doesn’t have this feature. The original write-up describes it on macOS Tahoe, and later reports say it works on Sequoia too.
How do you load the Touch ID key into ssh-agent?
ssh-add -K -S /usr/lib/ssh-keychain.dylibIn the OpenSSH manual, -K means “load resident keys from a FIDO authenticator” and -S sets the provider library to use instead of the built-in USB support. Here the provider is Apple’s ssh-keychain.dylib, which answers on behalf of the Secure Enclave. ssh-add will ask for a PIN because it assumes a USB security key; press Enter. You should see Resident identity added: ECDSA-SK SHA256:....
If you’ve used macOS for a while, ssh-add -K may look familiar for a different reason. Older Apple guides used it to store a key’s passphrase in the macOS Keychain. Apple moved that behaviour to --apple-use-keychain. In this article, -K is the upstream OpenSSH flag for resident keys.
Two details that save confusion:
- The agent remembers which provider loaded each key, so plain
ssh hostworks afterwards without extra options. ssh-agentonly loads provider libraries from allowed paths,/usr/lib/*and/usr/local/lib/*by default. Use the system path as is; don’t copy the dylib somewhere else.
ssh-add -L prints the public key. Use the line that starts with [email protected]. If the agent also holds other keys, ssh-add -l lists them with fingerprints so you can tell which is which (more on that in our ssh-agent forwarding post, which matters here: a forwarded agent hands remote hosts a way to ask for signatures).
How do you make the Touch ID key survive a reboot?
The agent forgets everything when it restarts, so the ssh-add step comes back after every reboot. There are two ways around that.
Option 1: write a key handle to disk with ssh-keygen -K
cd ~/.ssh
ssh-keygen -K -w /usr/lib/ssh-keychain.dylib -N ""
ssh-keygen -K downloads resident keys and writes the public and private key files to the current directory, which is why you cd ~/.ssh first. You get id_ecdsa_sk_rk and id_ecdsa_sk_rk.pub. The “private” file is only a reference to the credential in the Secure Enclave, not key material, which is why -N "" (no passphrase) is fine here. Copying it to another Mac gives that Mac nothing it can sign with.
Then point ssh at it in ~/.ssh/config:
Host *
    SecurityKeyProvider /usr/lib/ssh-keychain.dylib
    IdentityFile ~/.ssh/id_ecdsa_sk_rk
SecurityKeyProvider is a standard ssh_config option: the library ssh uses for FIDO-style keys instead of its built-in USB support. If you already keep a large config, put this in a narrower Host block for the servers that should use the Touch ID key (our ssh config organization post covers splitting it up).
If you created several identities with sc_auth, check that ssh-keygen -K wrote a file for each of them. One public report describes an older build that saved only one, fixed in a later macOS beta.
Option 2: set SSH_SK_PROVIDER for your shell
# in ~/.zprofile
export SSH_SK_PROVIDER=/usr/lib/ssh-keychain.dylibssh, ssh-add and ssh-keygen all read SSH_SK_PROVIDER, so after this, ssh-add -K and ssh-keygen -K work without the long path. It only applies to programs started from that shell, though. GUI apps that run ssh on their own won’t see it, which is one reason to prefer the config file.
To label the key so you can tell it apart in lists later, change the comment on the handle file:
ssh-keygen -c -C "macbook-air secure enclave" -f ~/.ssh/id_ecdsa_sk_rkDoes a Secure Enclave key work with GitHub and your servers?
Yes, as long as the other end accepts security key types.
- GitHub accepts
[email protected]keys. Paste thessh-add -Lline into your SSH keys settings and test withssh -T [email protected]. You’ll get the Touch ID prompt before the greeting. - GitLab lists
ECDSA_SKas supported and notes it needs OpenSSH 8.2 or later on both the client and the GitLab server. - Your own Linux servers: OpenSSH’s sshd accepts
[email protected]by default. On our OpenSSH 9.6 test box,sshd -Tlists it inpubkeyacceptedalgorithmswith no config change. Add the public key line to~/.ssh/authorized_keysas usual.
To check you pasted the right key, compare fingerprints. On the server:
ssh-keygen -lf ~/.ssh/authorized_keysA Secure Enclave key shows up as 256 SHA256:... (ECDSA-SK). That fingerprint should match the one from ssh-add -l or sc_auth list-ctk-identities -t ssh on your Mac.
Where it can fail: servers running OpenSSH older than 8.2, network appliances with their own SSH implementation, and hardened environments with a fixed list of approved algorithms that leaves out the sk- types. Check before you make it your only key for a box.
Secure Enclave via ssh-keychain.dylib vs Secretive vs a YubiKey
These solve the same problem in different ways, and each has a real strength.
- Built-in (sc_auth + ssh-keychain.dylib): nothing to install, uses the standard OpenSSH agent and config. The downside is documentation: the provider interface isn’t documented by Apple in any detail, and the original write-up notes there’s no attestation to prove a key really lives in the enclave.
- Secretive is an open-source macOS app built for exactly this: keys in the Secure Enclave, Touch ID or Apple Watch approval, and a notification each time a key is used. If you want a UI and access notifications, it’s the more polished option, and it has been around longer than the built-in route. Install with
brew install secretive. Its README is blunt about the same limit: keys can’t be backed up or moved to a new Mac. - A YubiKey or other FIDO2 key (
ssh-keygen -t ed25519-sk, see our ssh-keygen best practices) is portable. One key works on your Mac, a Linux desktop and a work laptop, and survives your Mac dying. It costs money, and you have to carry it.
A common pattern is a hardware key as the portable or break-glass key, and a Secure Enclave key for day-to-day use on the laptop.
What are the tradeoffs of a non-exportable SSH key?
The thing that makes this key safe is also what makes it awkward: it exists on one Mac and nowhere else.
- One key per Mac. A new Mac means a new identity, and re-registering it on GitHub and every server. That’s the one key per device model enforced by hardware, which is good practice, but you need a list of where each key is authorized.
- No backup. If the Mac dies, is wiped, or the logic board is replaced, the key is gone. Before you remove other keys from a server, make sure you have a second way in: another key, a hardware key, or console access from your provider.
- Exportable variants exist, with caveats.
sc_authcan create exportable keys (p-256without-ne) protected by the enclave, andexport-ctk-identitycan write them out. Public reports on moving them between Macs are mixed, and an exportable key gives up the main guarantee. If you want portability, a hardware key is the cleaner answer. - Prompts add up. With
-t bio, every signature asks for Touch ID. Scripts and cron jobs that ssh as you will stop and wait. Use a separate, narrowly authorized key for automation. - Mac only. It doesn’t help on your phone or a Linux box, and apps that don’t support security key types can’t use it.
- Revocation is still your job. If the Mac is lost, remove its public key from every
authorized_keysand Git host. Our key rotation post has a process for that.
Where does termique fit with a Touch ID SSH key?
It’s a different tradeoff, and you may want both.
A Secure Enclave key is bound to one Mac on purpose. termique goes the other way for the keys you keep in it: you generate an ed25519 or rsa key, or import an existing OpenSSH or PEM private key, and the private key is encrypted on your device before it syncs, so the server only stores ciphertext. That’s how the same key reaches your other devices, including iOS. termique’s SSH keys docs list ed25519 and RSA generation and OpenSSH/PEM import; they don’t mention security key (sk-) types, so treat a Touch ID key as something you use from Terminal and plain ssh, not from termique.
In practice that can look like this: a Touch ID key on your laptop for the access that matters most, like pushing to production repos or a bastion, and a synced key in termique for the everyday servers you reach from more than one device. termique also shows each key’s SHA-256 fingerprint in Settings, so you can line it up with ssh-keygen -lf on the server the same way. Be precise about what’s encrypted: credentials and private keys are end-to-end encrypted, while host names, groups and snippets sync as plain metadata. The details are on our security page.
FAQ
Can I use Touch ID for SSH on a Mac without installing anything?
On recent macOS versions, yes. sc_auth create-ctk-identity creates the key in the Secure Enclave and /usr/lib/ssh-keychain.dylib lets the built-in OpenSSH use it. Check man sc_auth for create-ctk-identity to confirm your version has it.
Can I export or back up a Secure Enclave SSH key?
Not a p-256-ne key. It’s generated inside the enclave and can’t leave it. Plan for that with a second key or a hardware key that can still get you in if the Mac is lost.
Why does ssh-add ask for a PIN?
ssh-add assumes a USB security key, which may have a PIN. The Secure Enclave uses Touch ID instead, so press Enter at the prompt.
Is a Secure Enclave key an Ed25519 key?
No. It’s ECDSA on the P-256 curve, shown as [email protected]. It’s widely supported, but older servers that predate OpenSSH 8.2 won’t accept it.
Do I have to run ssh-add after every reboot?
Only if you load the key through the agent. Write a key handle with ssh-keygen -K and add SecurityKeyProvider and IdentityFile to ~/.ssh/config, and ssh picks it up on its own.
If you manage keys for more servers than you can keep in your head, try termique free: keys generated or imported once, encrypted before they sync, with fingerprints you can check against the server.